How-To Guides
How to Transfer Money From Payoneer to JazzCash or Easypaisa (2026): Fees, Limits, and Processing Time
Payoneer to JazzCash transfer in 2026, official in-app steps, fees, limits, and instant timing, plus the safe bank workaround for Easypaisa.
Getting paid in Payoneer is great, until you need that money in your mobile wallet today, not next week. In Pakistan, Payoneer to JazzCash is the cleanest route because JazzCash supports an official in-app Payoneer option (and it’s usually instant). Easypaisa is different. As of February 2026, there’s no official Payoneer-to-Easypaisa direct link, so you’ll need a workaround.
This guide walks you through both paths with clear steps, what fees to expect, what limits to watch, and how long each method usually takes. It also includes practical safety tips, because one wrong detail (or the wrong “exchanger”) can freeze a transfer.
This reflects February 2026 info, but fees and limits can change inside the apps, sometimes without much notice. Always read the confirmation screen before you tap confirm.
Before you start, make sure your accounts are ready (so the transfer doesn’t fail)
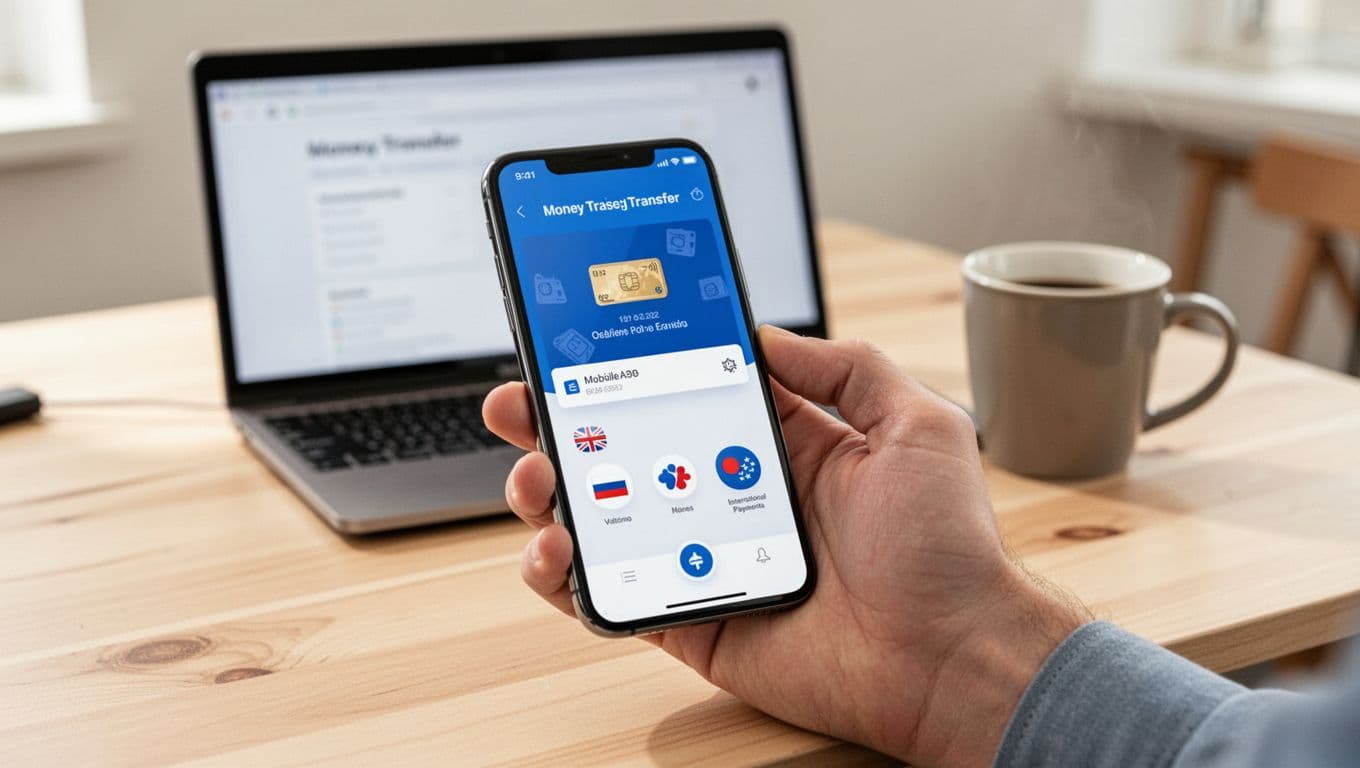 Mobile wallet transfers usually succeed when your identity and security settings are fully set up, created with AI.
A transfer failure often has nothing to do with your balance. Most issues come from account readiness and identity checks. Start by confirming your Payoneer account is fully verified. That usually means your ID is approved, your phone number is active, and two-step verification is turned on. If Payoneer asks for extra documents, finish that first, because withdrawals can get blocked mid-process.
Next, check your JazzCash mobile account status. The Payoneer option is meant for a registered JazzCash mobile account tied to your CNIC. If you’re using a basic or partially verified wallet, upgrade it first inside the app so limits don’t stop you at the last step. For official context on the partnership feature, see JazzCash’s page on Payoneer-powered freelance payments.
Also, treat your connection like part of the “setup.” A weak internet signal can cause session timeouts during linking, which looks like a failed login. Update both apps, set up MPIN or biometrics, and avoid switching between Wi-Fi and mobile data while confirming.
Finally, think about currency timing. Keep your Payoneer balance in USD if that’s how you get paid. The app will show your PKR conversion rate at confirmation, and that moment matters. A small test withdrawal (like $1 to $5, if available) is the easiest way to confirm everything works before you move a larger amount.
What details must match across Payoneer and mobile wallets?
Most wallet problems come down to mismatched identity details. Your Payoneer profile name should match your JazzCash or bank account name as closely as possible. Small differences (missing middle name, swapped order, extra initials) can trigger reviews. Your CNIC details matter too, because JazzCash accounts are tied to a verified identity. Your active phone number must also be reachable, since OTPs and security prompts depend on it.
If something doesn’t match, fix it before you try again:
- Update your name details in Payoneer (or submit the requested documents).
- Re-check JazzCash profile info and CNIC verification level in the app.
- If a change won’t save, contact support and keep screenshots handy.
A clean match keeps transfers fast. A mismatch can cause delays, reversals, or repeated security checks.
Common reasons transfers get stuck, and quick fixes
When a transfer hangs, start with the simple stuff. OTP failures are common when the SIM is not in your phone, the inbox is full, or the network is congested. App session timeouts also happen when you idle too long on the confirmation screen.
Other frequent causes include using the wrong wallet type (for example, an unverified wallet tier), hitting daily limits, or triggering a security review after too many login attempts.
Do this first, in order: refresh your internet, update the app, retry after 10 to 30 minutes, and double-check your limits inside JazzCash. If it still fails, clear the app cache, then try again. When contacting support, share the transaction ID and the exact time of the attempt.
If the app shows a rate and fee preview, then fails at confirmation, the issue is usually OTP, limits, or a security check, not your balance.
How to transfer from Payoneer to JazzCash (official method, usually instant)
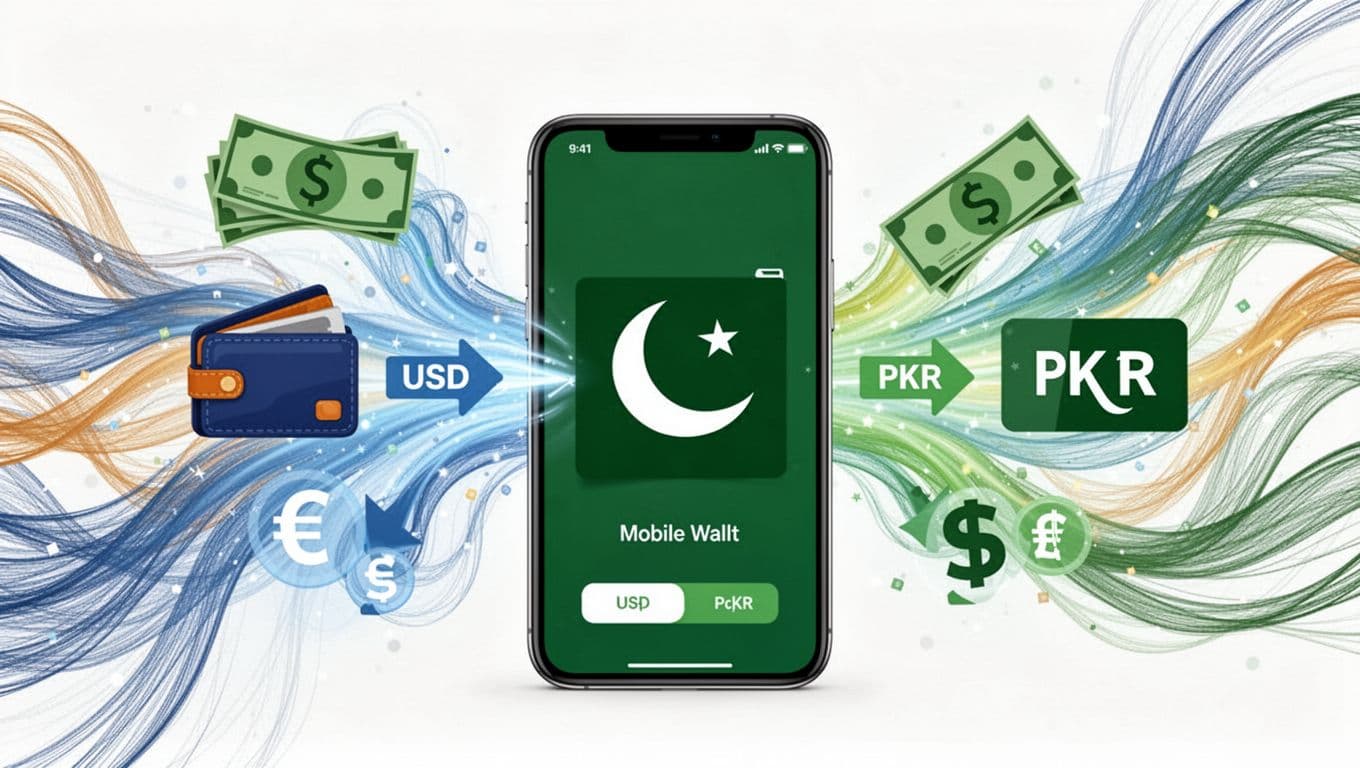 An illustration of USD-to-PKR conversion during a mobile wallet transfer, created with AI.
If you want speed with the least hassle, JazzCash is the best-supported route in 2026. The process has two parts: link Payoneer once, then withdraw whenever you need PKR.
You’ll see the withdrawal amount entered in USD, then the app shows an estimated PKR amount with the exchange rate. That exchange rate is the real “price tag” of the transfer, so don’t rush past it. After confirmation (usually with MPIN or biometrics), the money typically appears in your JazzCash balance right away.
For additional step visuals (helpful if your menus look different), you can compare your flow with this step-by-step Payoneer to JazzCash linking guide. Menu names can vary slightly by app version, but the idea stays the same.
Link Payoneer to JazzCash one time in the JazzCash app
Linking is a one-time setup per Payoneer account. Do it in a calm moment, not when you’re rushing to pay a bill.
- Open the JazzCash app and sign in.
- Find the Payoneer option (often inside Services, Freelance Payments, or a similar section).
- Tap Link account.
- Sign in with your Payoneer email or user ID and password.
- Complete any two-step verification prompts.
- Wait for the success message, then return to JazzCash.
Keep your credentials private. Don’t share your Payoneer password, and never forward OTP codes to anyone, even if they claim to be “support.”
Withdraw to JazzCash in seconds: fees, limits, and processing time in 2026
In February 2026, the JazzCash route is generally real-time, meaning you often receive PKR in your wallet right after confirmation.
Here’s what to expect in the app flow:
- Minimum withdrawal: Many users can withdraw as low as $1 (some accounts may show a higher minimum depending on status and app updates).
- Limits: JazzCash commonly shows wallet limits inside the Payoneer withdrawal screen. In many cases, users see figures like PKR 150,000 daily and PKR 500,000 monthly, but your limits can be lower based on verification level and account history.
- Fees: JazzCash promotes this feature with strong perks, and it may not show a separate JazzCash service fee. However, Payoneer may apply a withdrawal fee that can appear as around 2% during confirmation (always verify on your screen). The exchange rate also matters because the FX spread can cost more than a visible fee.
If you want a better feel for Payoneer’s fee types (withdrawal fees, minimums, FX costs), this breakdown of Payoneer charges and hidden FX costs is a useful reference. Your actual numbers still depend on your account and the confirmation screen.
A simple habit saves money: compare the PKR rate shown at confirmation with a bank’s public rate, then decide if it’s “good enough” for today. If the rate looks weak, wait and try later, especially during high-volatility days.
How to get Payoneer money into Easypaisa (no direct link in 2026)
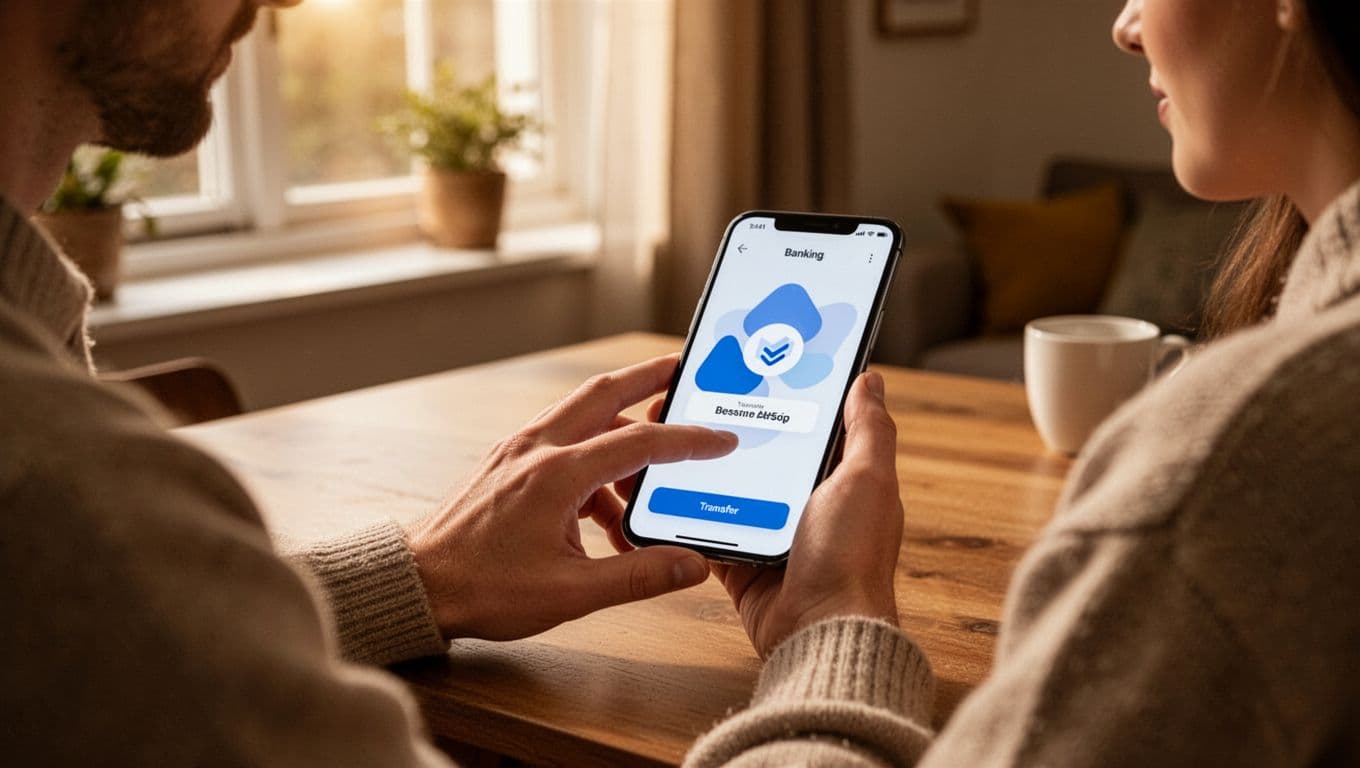 Moving funds through a bank app is the most dependable bridge to Easypaisa, created with AI.
If you’re searching for a one-tap Payoneer to Easypaisa button, you’ll probably be disappointed. As of February 2026, there’s no official direct Payoneer-Easypaisa integration in the mainstream app flows. This matches what many payment guides also state, including this overview on whether Payoneer connects to Easypaisa.
That doesn’t mean you’re stuck. It just means the safest path uses a bank as the bridge. Think of it like changing flights. A direct flight is nicer, but a short layover still gets you there, and it’s often the lowest-risk option.
Safe route: Payoneer to Pakistani bank, then move money to Easypaisa
This is the most reliable approach when you need Easypaisa specifically.
- In Payoneer, choose Withdraw to Bank (your local PKR bank account).
- Select the saved bank account (or add it if you haven’t).
- Enter the withdrawal amount and review the rate and fees.
- Confirm with security prompts (OTP or two-step verification).
- Wait for the bank credit (commonly 2 to 5 business days, and weekends can slow it down).
- From your bank app, send money to Easypaisa using IBFT or a bank transfer option to a mobile account number (often instant once your bank supports it).
On fees, Payoneer commonly shows a 2% withdrawal fee (with a minimum such as $2.50 on some accounts), and currency conversion can add cost depending on the rate used. The exact fee and the exact rate appear before you submit. Bank-to-wallet transfer fees vary by bank and account type, so check your bank’s schedule inside the app.
If you’re building a broader “get paid from abroad” setup, it also helps to understand your alternatives. This guide on legal PayPal alternatives in Pakistan explains why many freelancers end up using Payoneer and local rails.
Faster but riskier option: third-party exchangers for Easypaisa (and when to avoid them)
Some people use exchangers that “swap” Payoneer funds to PKR and send money to Easypaisa. The appeal is speed. The risk is obvious: you’re trusting a third party with your money.
These services usually earn from a worse exchange rate, a service fee, or both. The total cost can be higher than the bank route, even when the transfer looks instant. Processing time ranges from a few minutes to hours, depending on whether the service is automated or manual. For an example of how these listings are presented, you can look at a marketplace page like Payoneer to Easypaisa exchange listings. Use it as context, not as a guarantee of safety.
Avoid exchangers when:
- You’re asked for your Payoneer password or OTP.
- The rate is “too good” compared to everyone else.
- They won’t share a clear process, timing, and proof of transfer.
If you still use one, start with a small test amount, keep screenshots, and save every transaction ID.
Official integrations reduce fraud risk. With exchangers, you’re the fraud department, so act like one.
Fees, limits, and timing at a glance (plus smart ways to reduce cost)
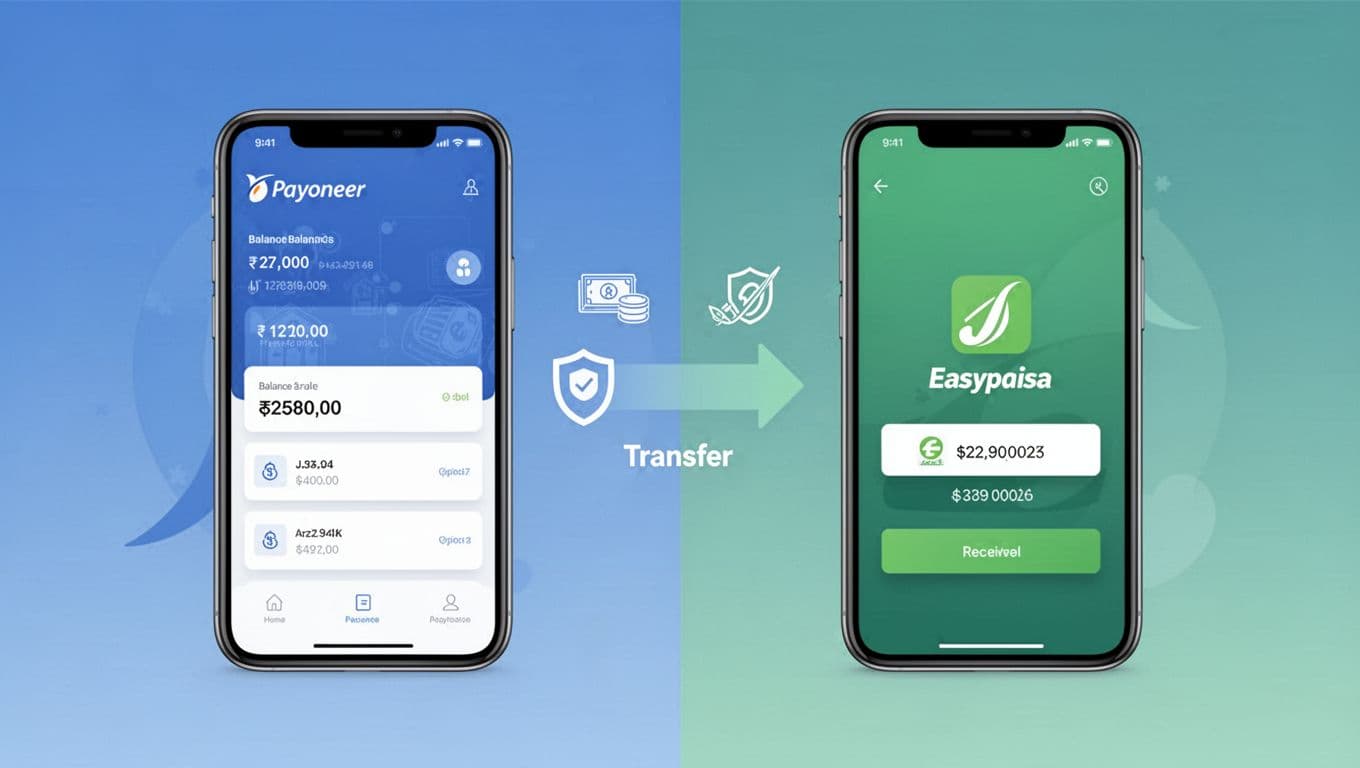 Two common routes for receiving Payoneer funds into mobile wallets, created with AI.
Here’s the quick comparison most people need before choosing a route.
| Route (2026) | Processing time | What you pay most often | Limits (typical) | Best for |
|---|---|---|---|---|
| Payoneer to JazzCash (official) | Usually instant | Payoneer withdrawal fee shown at checkout (often around 2%) plus FX spread | Shown inside JazzCash, depends on verification (many users see daily and monthly caps) | Fast cash, bill payments, local transfers |
| Payoneer to bank, then Easypaisa | 2 to 5 business days to bank, then often instant to wallet | Payoneer bank withdrawal fee and FX rate, bank transfer fees vary | Bank and Easypaisa limits vary by verification level | People who must receive in Easypaisa |
| Third-party exchanger to Easypaisa | Minutes to hours | Rate spread plus service fee, varies by provider | Provider-dependent | Emergency only, with caution |
To reduce total cost, focus on what you control. Withdraw larger amounts less often (while staying under limits). Watch the FX rate right before you confirm, because that can swing your PKR result more than a small fee. For bank withdrawals, avoid starting on weekends if you need the money fast.
Best choice by situation is simple: if you need instant wallet funds, pick JazzCash. If you need Easypaisa for a specific use, use the bank bridge. If it’s an emergency and you understand the risk, an exchanger might work, but treat it like a high-risk trade.
Conclusion
In 2026, the clearest path is still the same: Payoneer to JazzCash is the official, usually instant option, while Easypaisa needs a bank transfer bridge, or a third-party exchanger with real risk. Before you confirm any withdrawal, pause on the final screen and check the fee line and the PKR exchange rate. That’s where most “hidden cost” lives.
Start with a small test transfer, especially after changing your phone, SIM, or app version. Save these steps, and if a transfer fails, check your wallet limits and verification status first. A clean profile match fixes more problems than people expect.


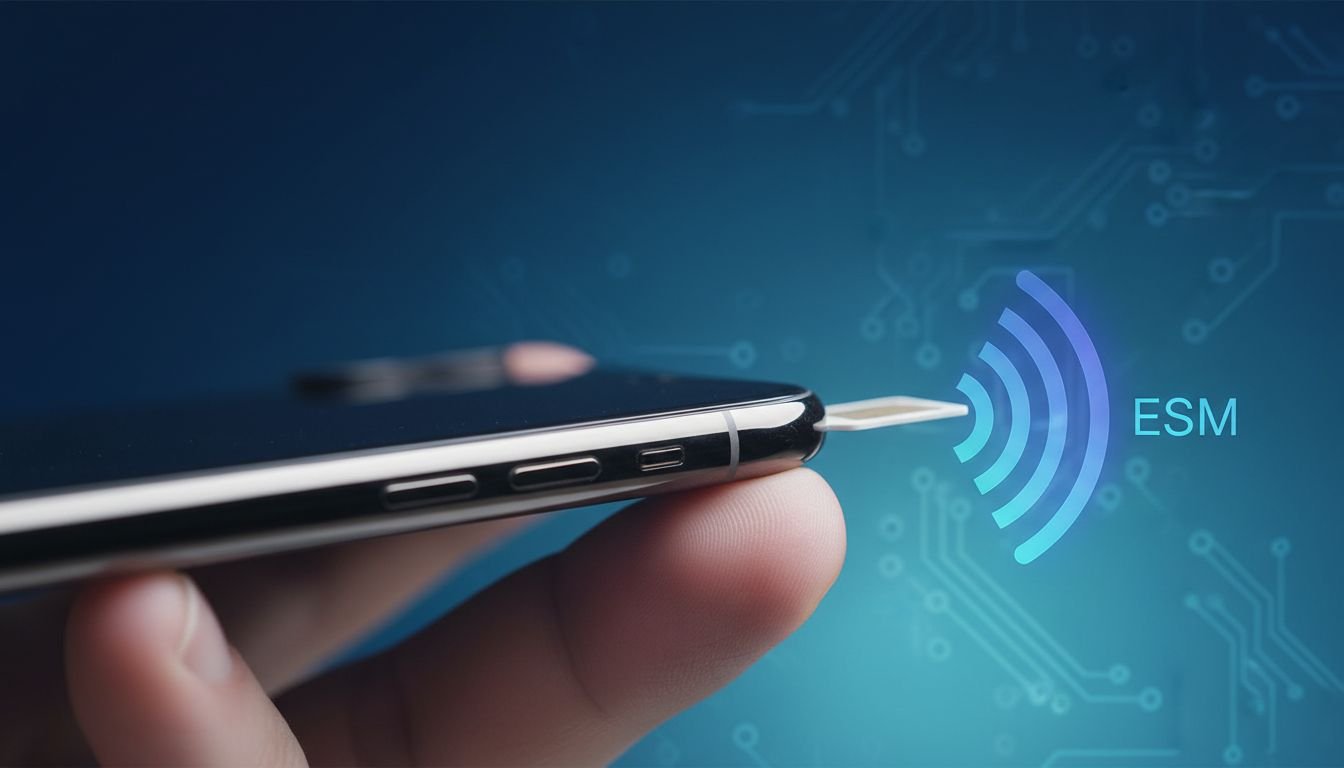
Got a new iPhone with no SIM tray, or tired of a tiny SIM card that keeps slipping out? Maybe you travel between Pakistan, the UAE, and Saudi Arabia, and you want dual SIM without carrying a pin tool. Whatever the reason, converting a physical SIM to eSIM on iPhone is usually quick, as long as your carrier supports it.
This guide is for iPhone XS and newer users in 2026 (including the latest models), and it follows the same menu path you’ll see on recent iOS versions (iOS 19 and up still keeps the process familiar). You’ll get simple, step-by-step instructions, plus fast fixes if “Convert to eSIM” doesn’t show up.
Before you convert, make sure your iPhone and carrier are ready
Most iPhones from iPhone XS and newer support eSIM. That part is easy. The bigger question is your carrier, because not every carrier supports the built-in “Convert” button.
In Pakistan, the major networks commonly offer eSIM options (Jazz, Zong, Telenor, and Ufone). Still, the conversion method can differ. Some carriers let you convert right inside Settings, while others require a QR code, an app, or a visit to a franchise center for ID verification. In the UAE and Saudi Arabia, many users also run into in-store verification rules, especially when the account needs an ID match.
Also remember what you’re really doing: you’re moving your phone number from a plastic card to a downloaded carrier profile. That profile must be issued and approved by your carrier. If the carrier’s system is slow, you might wait minutes, not seconds.
Biggest rule: don’t remove the physical SIM until the eSIM is fully active and tested.
A quick side note for buyers in Pakistan: carrier lock issues can complicate any SIM change. If you’re unsure about your device status, read the disadvantages of JV iPhones in Pakistan before you start.
Quick checklist to avoid getting stuck mid-switch
- iPhone XS or newer (including iPhone 16 series in 2026)
- iOS updated (iOS 19+ uses the same Settings flow)
- Strong Wi-Fi (eSIM profiles download over the internet)
- Apple ID access (know your password, have 2FA available)
- Carrier account login (if your carrier app needs it)
- Your phone number and account PIN (if your carrier uses one)
- Device unlocked for your carrier setup (important when traveling)
- Backup done (iCloud or computer)
- Keep the physical SIM inserted until everything works
Know your carrier setup type, built-in conversion, QR code, app, or manual details
There are four common activation paths:
- Convert to eSIM in Settings: Fastest when your carrier supports direct conversion.
- QR code scan: Your carrier issues a QR code that installs the eSIM plan.
- Carrier app flow: Some networks push the eSIM profile through their app.
- Manual entry: You enter details like SM-DP+ address and activation code.
If your carrier doesn’t support direct conversion, you’ll usually request a new eSIM re-issue. Fees depend on the carrier. Many do it free, while some charge a small service fee (often around $5 to $10).
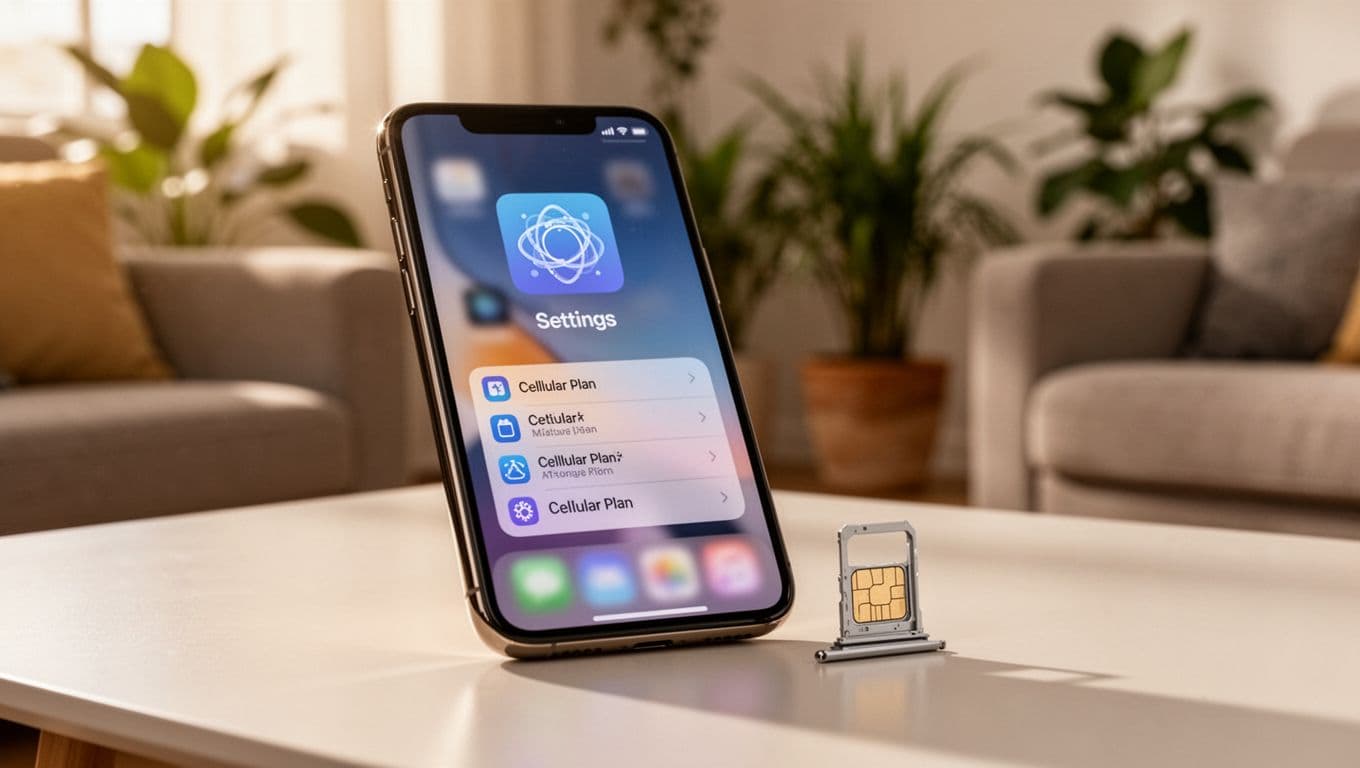
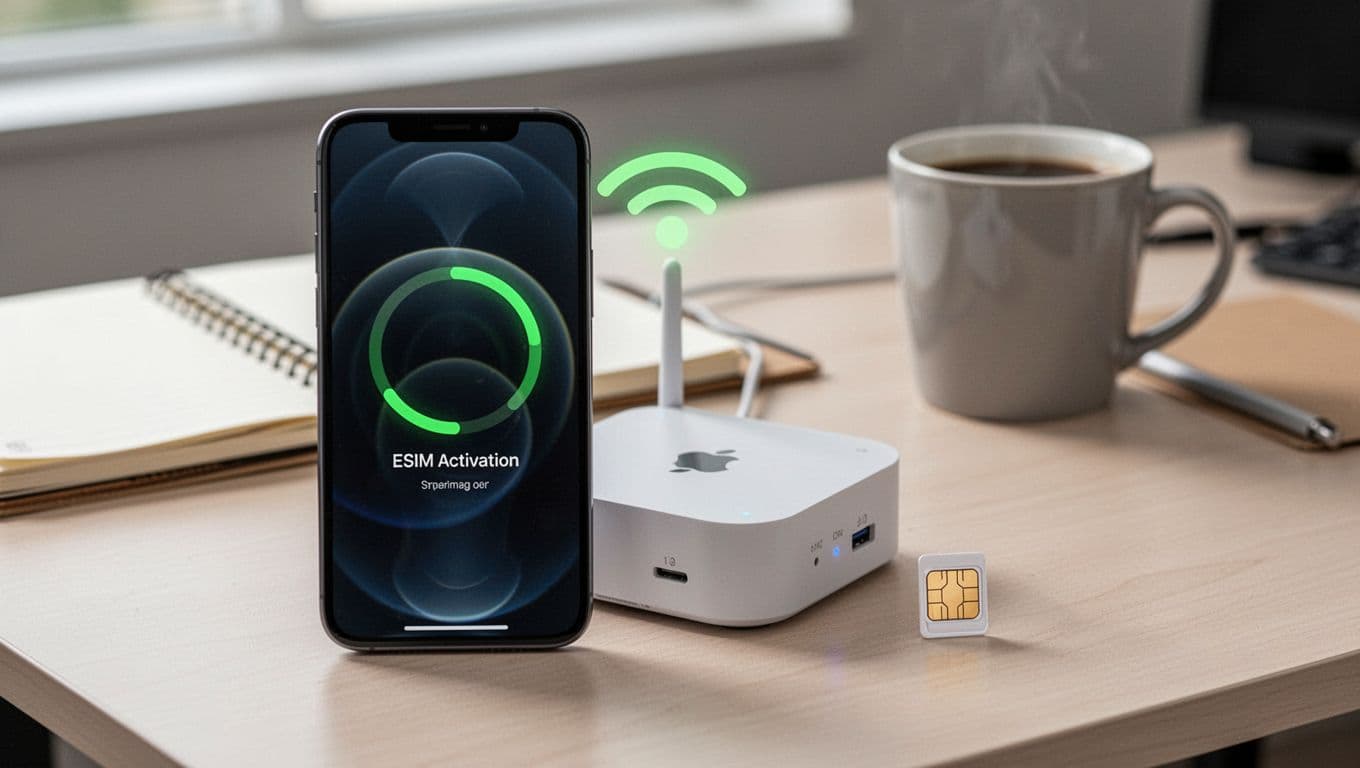
How to convert your physical SIM to eSIM on the same iPhone (step by step)
Plan for a calm 10 minutes. The actual conversion often finishes in 1 to 3 minutes, but some carriers take longer. In rare cases, activation can take up to 2 hours if carrier systems queue the request.
Before you begin, connect to Wi-Fi and keep your phone charged. If you’re worried about battery dropping mid-setup, it helps to use a reliable charger (see this guide on how to choose the perfect charger for your smartphone so you don’t end up with unstable charging during activation).
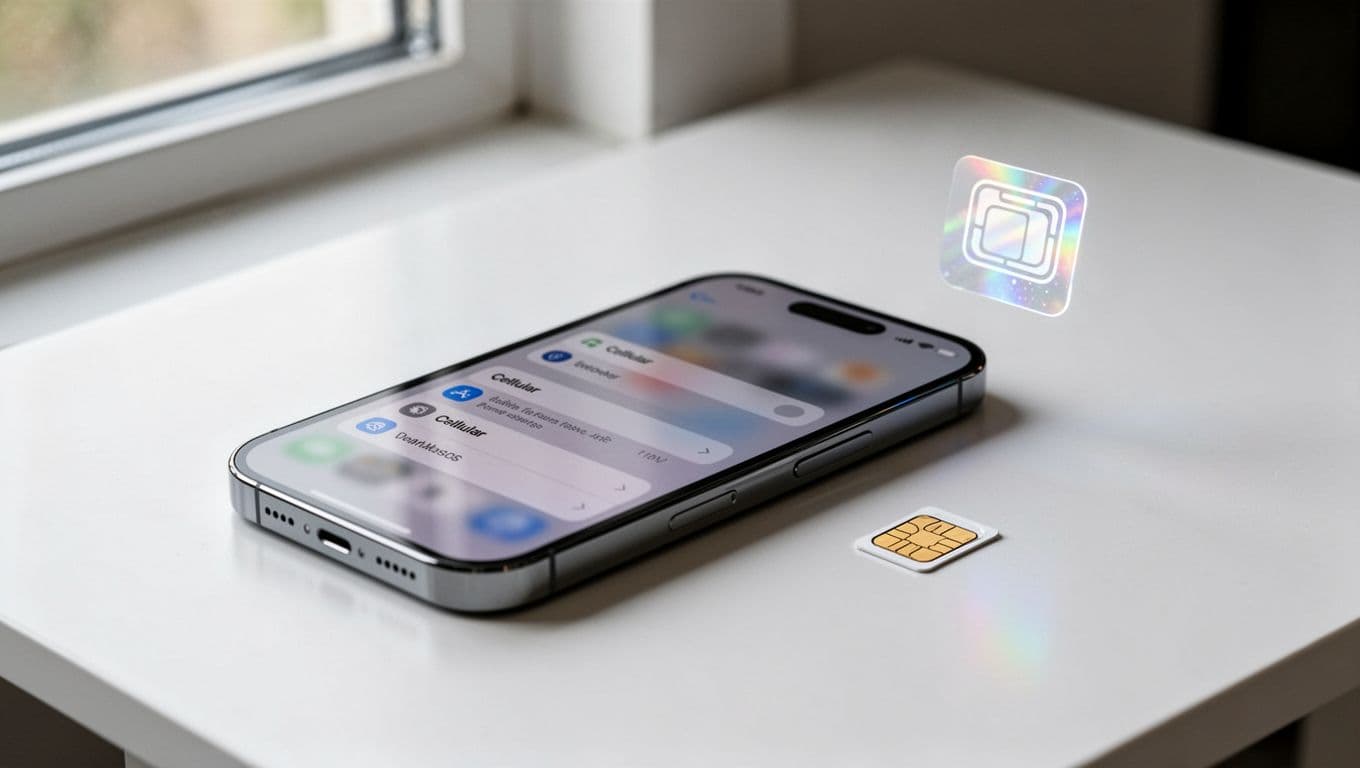
Convert to eSIM from Settings (the easiest method when it appears)
- Back up your iPhone, then connect to strong Wi-Fi.
- Open Settings.
- Tap Cellular (or Mobile Data).
- Tap Convert to eSIM.
- Tap Convert Cellular Plan.
- Tap Convert to eSIM again to confirm.
- Wait while your iPhone activates the plan (keep Wi-Fi on).
- Test a call, SMS, and mobile data.
- Remove the physical SIM only after everything works, then restart your iPhone.
If activation seems slow, keep the iPhone on Wi-Fi and plug it in. Also avoid switching apps too much. Think of it like changing a lock on your front door. It’s quick, but you don’t want interruptions halfway.
If your carrier uses a QR code or app instead of the Convert button
If you don’t see “Convert to eSIM,” you can still activate eSIM with carrier-issued details.
QR code method
- Open Settings.
- Tap Cellular (or Mobile Data).
- Tap Add eSIM.
- Choose Use QR Code.
- Scan the QR code from your carrier (paper, email, or app).
- Follow the prompts to finish activation, then test service.
If scanning fails, tap Enter Details Manually and use the info from your carrier.
Carrier app method Open your carrier’s app and follow the eSIM setup prompts. After it finishes, return to Settings > Cellular/Mobile Data and confirm the plan shows as active.
What you’ll need from your carrier (varies by provider):
- QR code (most common)
- Activation code
- SM-DP+ address (for manual setups)
- Confirmation PIN (some accounts require it)
Common problems after switching, and how to fix them fast
Most eSIM issues feel scary because service drops suddenly. The good news is that most fixes are simple, and many problems resolve after a restart or a short wait.
A helpful mindset: treat eSIM activation like a train schedule. Sometimes you arrive early and wait on the platform. Other times, the train comes right away. Knowing when to wait, and when to call support, saves a lot of stress.
“Convert to eSIM” is missing, activation failed, or you see “No Service”
Problem: “Convert to eSIM” is missing
- Likely cause: your carrier doesn’t support direct conversion in Settings.
- Fix: ask your carrier for a QR code or eSIM re-issue. Confirm your plan supports eSIM.
Problem: Activation failed
- Turn Wi-Fi off and on, then try again.
- Restart your iPhone.
- Update iOS if an update is available.
- If your physical SIM still works, keep it inserted and retry after 10 to 15 minutes.
Problem: “No Service” after activation
- Toggle Airplane Mode on for 10 seconds, then off.
- Restart again (yes, it matters).
- Check Settings > Cellular/Mobile Data and confirm your eSIM line is enabled.
- If you removed the physical SIM too early, reinsert it while you contact your carrier.
As a last resort, reset networking:
- Settings > General > Transfer or Reset iPhone > Reset > Reset Network Settings
If you’re in Pakistan, UAE, or Saudi Arabia, some carriers require in-store verification before they fully activate eSIM on an account. If you’ve tried the steps above and it still fails, that’s your signal to call support or visit a store.
Calls and data work, but iMessage or FaceTime won’t activate
This happens often right after a SIM change. Usually it clears within minutes.
Try this in order:
- Go to Settings > Messages > Send & Receive, then select your phone number.
- Go to Settings > FaceTime, then confirm the correct number is checked.
- Toggle iMessage off, wait 10 seconds, then turn it on.
- Set time correctly: Settings > General > Date & Time > Set Automatically
- Send one regular SMS (some carriers need an outgoing SMS to register your number)
- Restart your iPhone once more
If your number shows “waiting for activation,” give it 10 to 30 minutes on Wi-Fi before you change more settings.
FAQ: Physical SIM to eSIM conversion on iPhone (2026)
Can I convert physical SIM to eSIM on any iPhone?
No. You generally need an iPhone XS or newer. Older iPhones don’t support eSIM.
Will I lose my phone number when I convert to eSIM?
You shouldn’t. The number moves to an eSIM profile. Still, always test calls and SMS before removing the physical SIM.
How long does eSIM activation take on iPhone?
Often 1 to 3 minutes. Sometimes it takes longer, even up to 2 hours, if carrier systems are busy.
Why don’t I see “Convert to eSIM” in Settings?
Usually your carrier doesn’t support built-in conversion. Ask for a QR code or use the carrier app.
Can I use dual SIM after switching to eSIM?
Yes. Many people keep one line as eSIM and add another line (eSIM or physical SIM, depending on the model). Label lines like Personal and Work.
Is there a fee to convert SIM to eSIM?
It depends on the carrier. Some do it free, others charge a small fee (commonly around $5 to $10).
Conclusion
Converting a physical SIM to eSIM on iPhone is simple when two things line up: your iPhone model (XS and newer) and your carrier support. If you see Convert to eSIM in Settings, you can finish the switch in minutes. If that button is missing, use a QR code, a carrier app, or manual details from support. Most importantly, test calls, SMS, and data before you remove the physical SIM.
After everything works, take one practical step that saves future headaches: label your eSIM line (Personal, Work, Travel) and store your carrier’s QR or activation details somewhere secure. Next time you change phones, you’ll thank yourself.

Recording phone calls on an iPhone has come a long way, but it still requires a mix of the right tools and an understanding of the law. Whether you’re saving an important conversation, recording an interview, or just keeping a record of a customer service call — this guide explores the easiest methods, key legal tips, and smart advice so you can record calls confidently and responsibly.
Why Record iPhone Calls? Common Use Cases
Before diving into the “how,” let’s address the “why.” Users often record calls for:
- Professional needs: Client agreements, interviews, or business negotiations.
- Personal documentation: Legal disputes, medical advice, or family discussions.
- Convenience: Capturing details from customer service calls or verbal instructions.
Understanding your purpose ensures you choose the right method while staying compliant with laws.
Method 1: Native Call Recording in iOS 18.1 (The Easiest Solution)
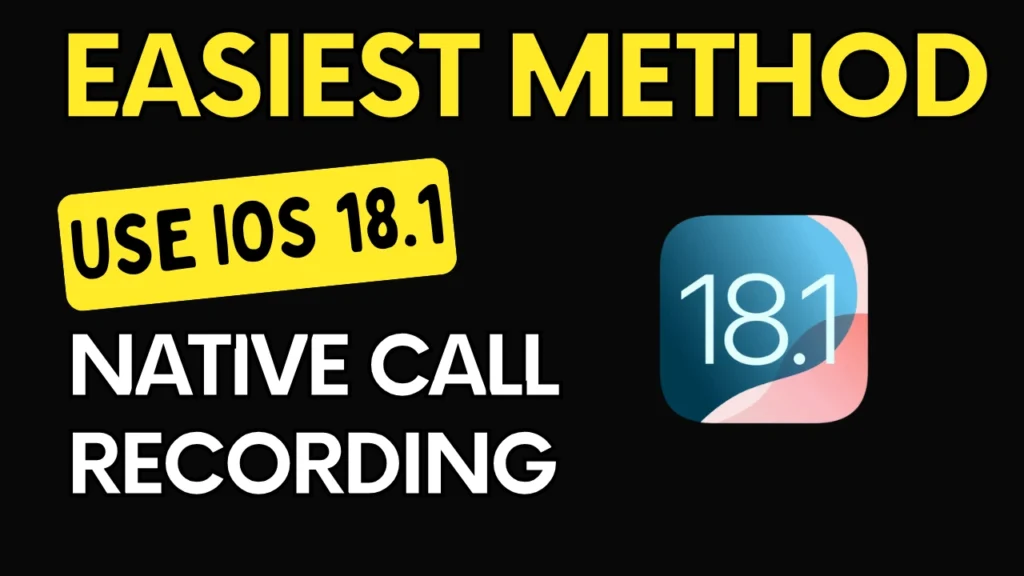
With iOS 18.1, Apple finally introduced built-in call recording, streamlining the process for millions of users.
How It Works:
- During a call, tap the Record button (a red circle).
- Both parties hear an automated voice notification: “This call is now being recorded.”
- After ending the call, the recording, a transcription, and an AI-generated summary save automatically to the Notes app.
Key Features:
- Transcriptions: Edit text for accuracy directly in Notes.
- Searchable summaries: Quickly locate key points (e.g., “refund policy” or “delivery date”).
- Privacy compliance: Automatic notifications ensure consent.
Limitations:
- Only available on iOS 18.1 or later.
- Not supported in regions with strict consent laws (e.g., parts of the EU).
Method 2: Third-Party Apps (For Older iOS Versions or Advanced Features)
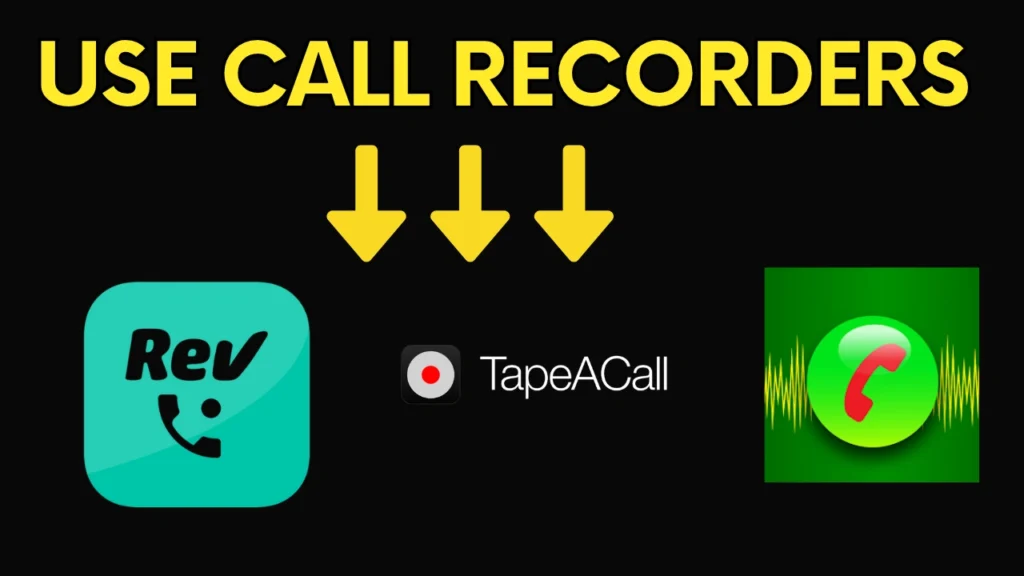
If your iPhone isn’t updated to iOS 18.1, third-party apps fill the gap. These apps use “conference call” technology to record, which may incur carrier fees or fail on networks blocking three-way calls.
Top Apps in 2025:
- Rev Call Recorder (Free + transcription fees):
- Unlimited recording for incoming/outgoing calls.
- AI-powered transcriptions ($1.50/minute). Ideal for professionals.
- TapeACall Pro ($10/month):
- Cloud backups, timestamped notes, and easy sharing.
- Best for frequent users needing organization.
- CallX – Call Recorder (Freemium):
- Intuitive folders, iCloud sync, and password protection.
- Prioritizes security and accessibility.
Pro Tip: Test apps during free trials to confirm compatibility with your carrier (e.g., Verizon vs. T-Mobile).
Method 3: Alternative Workarounds
If apps aren’t viable, try these creative solutions:
- Google Voice:
- Free for U.S. users. Press 4 during a call to start recording.
- Voice Memos + Speakerphone:
- Place the call on speaker, open Voice Memos, and hit record.
- Works best in quiet environments (background noise is a downside).
- Mac or iPad Continuity:
- Use QuickTime (Mac) or Screen Recording (iPad) to capture calls routed through your Apple devices.
The Legal Landscape: What You Must Know
Recording laws vary globally. Ignorance isn’t a defense—here’s a breakdown:
| Country/Region | Consent Requirement | Penalties for Violations |
|---|---|---|
| United States | Mixed: 38 states allow one-party consent. 12 (e.g., California) require all-party consent. | Fines, civil lawsuits, criminal charges. |
| European Union | All-party consent mandatory under GDPR. | Fines up to €20 million. |
| Pakistan | Ambiguous; courts often side with privacy rights. | Potential jail time. |
| Australia/Canada | One-party consent federally. | Civil liabilities. |
Best Practice: Start calls with, “I’d like to record this conversation for accuracy—are you comfortable with that?” Save verbal consent in the recording.
Optimizing Your Recordings: Pro Tips
- Boost Audio Quality:
- Use wired headphones (reduces echo) or a microphone attachment.
- Avoid speakerphone unless necessary.
- Organize Recordings:
- Rename files with dates/topics (e.g., “2024-07-20_Doctor_Advice”).
- Create folders in iCloud Drive or Notes for easy access.
- Security Measures:
- Encrypt sensitive recordings (iOS Notes lets you lock files with Face ID).
- Delete unnecessary recordings to free space and reduce privacy risks.
Troubleshooting Common Issues in iPhone Call Recording
- “Record Button Not Appearing”: Update to iOS 18.1 or check regional restrictions.
- “Other Party Can’t Hear Me”: Disable Bluetooth, which may interfere with third-party apps.
- “Low Storage”: Auto-delete old recordings or offload to cloud services.
FAQ: Your Questions, Answered
Q: Can I record FaceTime calls?
A: Yes! iOS 18.1’s native feature works for FaceTime audio.
Q: Do apps like TapeACall work internationally?
A: Maybe. Confirm with your carrier about three-way call support abroad.
Q: How long can I record a call?
A: Native iOS: No limit. Apps may restrict free users (e.g., 1 hour).
Final Word: Ethics Matter
While technology simplifies recording, always prioritize transparency. Whether using iOS 18.1’s seamless tool or a third-party app, clear communication builds trust and keeps you legally protected.

Your smartwatch is your fitness tracker, notification hub, and style statement—but when its clock is wrong, it becomes a daily frustration. Maybe your phone’s dead, you’re traveling, or the companion app is glitching. Whatever the reason, you don’t need an app to fix the time. In this guide, you’ll learn three foolproof methods to manually set your smartwatch’s time, troubleshoot common issues, and keep your device accurate—no smartphone required.
Why Can’t My Smartwatch Set the Time Automatically?
Most smartwatches sync time via Bluetooth or Wi-Fi with your phone. But if your watch is offline, reset, or in a region with poor connectivity, it might display the wrong time. Here’s when manual fixes save the day:
- You’re traveling across time zones.
- Your phone is broken, lost, or disconnected.
- The watch software is glitching.
- You prefer full control over settings.
⚠️ Heads Up: Some watches (e.g., older Fitbit models) require initial app setup. Check your manual before proceeding.
Method 1: Manual Time Adjustment (Works for 90% of Smartwatches)
Best For: Apple Watch, Samsung Galaxy Watch, Garmin, Amazfit, Fossil
What You’ll Need: Basic familiarity with your watch’s buttons or touchscreen.
- Open Settings
- Touchscreen: Swipe down or tap the gear icon.
- Button-Based (e.g., Garmin): Press the “Back” or “Up” button to access the menu.
- Example: On an Apple Watch, press the Digital Crown > scroll to “Settings” (gear icon).
- Find “Date & Time”
- Navigate to System > Date & Time (Wear OS) or General > Time (Apple Watch).
- Turn Off Automatic Sync
- Toggle off “Automatic Time” or “Use Network Time.”
- Set Time Manually
- Use +/- buttons, a rotating bezel, or tap to adjust hours and minutes.
- Traveler Tip: Update the time zone here if you’re in a new region.
- Save and Exit
- Tap “OK” or press the crown/button to confirm.
💡 Pro Tip: Can’t find the menu? Search “[Your Watch Model] + manual time setting” on Google for brand-specific steps.
Method 2: Sync Time via GPS (For Outdoor & Fitness Watches)

Best For: Garmin, Suunto, Coros, Polar
What You’ll Need: A clear view of the sky.
- Enable GPS
- Go to Settings > Connectivity > GPS and turn it on.
- Start an Outdoor Activity
- Choose “Run,” “Hike,” or “Bike” mode. This forces the watch to ping satellites.
- Wait for Sync
- Once GPS connects (look for a green signal icon), the watch auto-updates time based on your location.
⚠️ Why This Works: GPS satellites broadcast atomic-clock time, which your watch uses to stay accurate.
Method 3: Use Voice Commands (For Google Assistant, Siri, or Bixby)

Best For: Apple Watch, Wear OS (Google), Samsung Galaxy Watch
What You’ll Need: A charged watch and Wi-Fi/cellular if phone isn’t nearby.
- Activate the Voice Assistant
- Apple Watch: Raise your wrist and say, “Hey Siri.”
- Wear OS: Hold the power button or say, “Hey Google.”
- Galaxy Watch: Press and hold the home button for Bixby.
- Give a Clear Command
- Say: “Set time to 2:45 PM,” or “Change time zone to Paris.”
- Confirm the Change
- The assistant will ask, “Should I update the time to 2:45 PM?” Reply “Yes.”
💡 Did You Know? Voice commands also work for setting alarms or timers hands-free!
Troubleshooting: Fixes for Stubborn Smartwatches
Problem 1: Time Resets After Rebooting
- Fix: Disable “Automatic Time” permanently in settings. Some watches (e.g., Huawei GT) revert to auto-sync after restarting.
Problem 2: Wrong Time Zone
- Fix: Manually select your zone under Date & Time > Time Zone > [Your City].
Problem 3: GPS Won’t Connect
- Fix: Charge your watch to 50%+ (low battery disables GPS). Stand near a window or outdoors.
Problem 4: Voice Assistant Ignores You
- Fix: Check mic permissions in settings. Clean the microphone hole with a soft brush.
When All Else Fails: Reset Your Watch
- Factory Reset
- Go to Settings > System > Reset (this erases all data!).
- Post-Reset: Set time manually during the setup process.
- Contact Support
- Example: For Fitbit Versa 4, visit Fitbit’s live chat. Have your serial number ready.
Final Tips to Keep Your Smartwatch Accurate
- Update Firmware: Outdated software causes glitches. Connect to Wi-Fi and check for updates.
- Disable Battery Saver: Power-saving modes often freeze time updates.
- Travel Hack: Manually set your time zone before flights to avoid confusion.
Conclusion
You don’t need a tech guru—or even your phone—to fix your smartwatch’s clock. With these methods, you’ll keep your watch accurate whether you’re hiking in the mountains, jetlagged in a new city, or just tackling daily life. Got a tricky watch model? Share your questions in the comments, and we’ll help you crack the code!
🔗 Loved This Guide? Check out our post on [How to Transfer Apple Cash To Bank Account] for more hacks!

National Disaster Risk Management Fund Jobs – NDRMF Latest Government Jobs

Jobs in Punjab Agriculture Food & Drug Authority (PAFDA) – Complete Guide | Online Apply

Special Education Department Jobs 2026 Lahore – Autism School Vacancies

A New Era in Space Exploration: Pakistan’s First Lunar Mission Takes Flight

How to Get Your Family Registration Certificate (FRC) NADRA in 2025

Sell your class notes| Online earning in Pakistan for students
-

 Online earning1 month ago
How to Create a Wise Account From Pakistan (2026): What Works, What Doesn’t, and Safer Options
-

 Online earning2 months ago
Best Online Earning Websites in Pakistan 2026 (Real, Legit, No Shortcuts)
-

 Balochistan Jobs2 weeks ago
BPSC Jobs 2026 – Advertisement No. 02/2026 Apply Online
-

 Visa1 month ago
Germany Job Seeker Visa Checklist (2026): Documents, Translations, Copies, and Common Missing Items
-

 How-To Guides1 month ago
How To Convert Physical SIM To eSIM On iPhone (2026 Updated Guide)
-
Online earning2 months ago
PayPal Account in Pakistan (2026): Legal Ways to Receive Payments, Best Alternatives, and Withdrawal Options
-

 Visa1 month ago
Qatar Visa for Pakistanis (February 2026): Visa on Arrival Rules, Hayya eVisa, and Backup Options
-

 Punjab Jobs2 weeks ago
PPSC Jobs 2026 in Punjab – 491+ New Government Vacancies | Apply Online