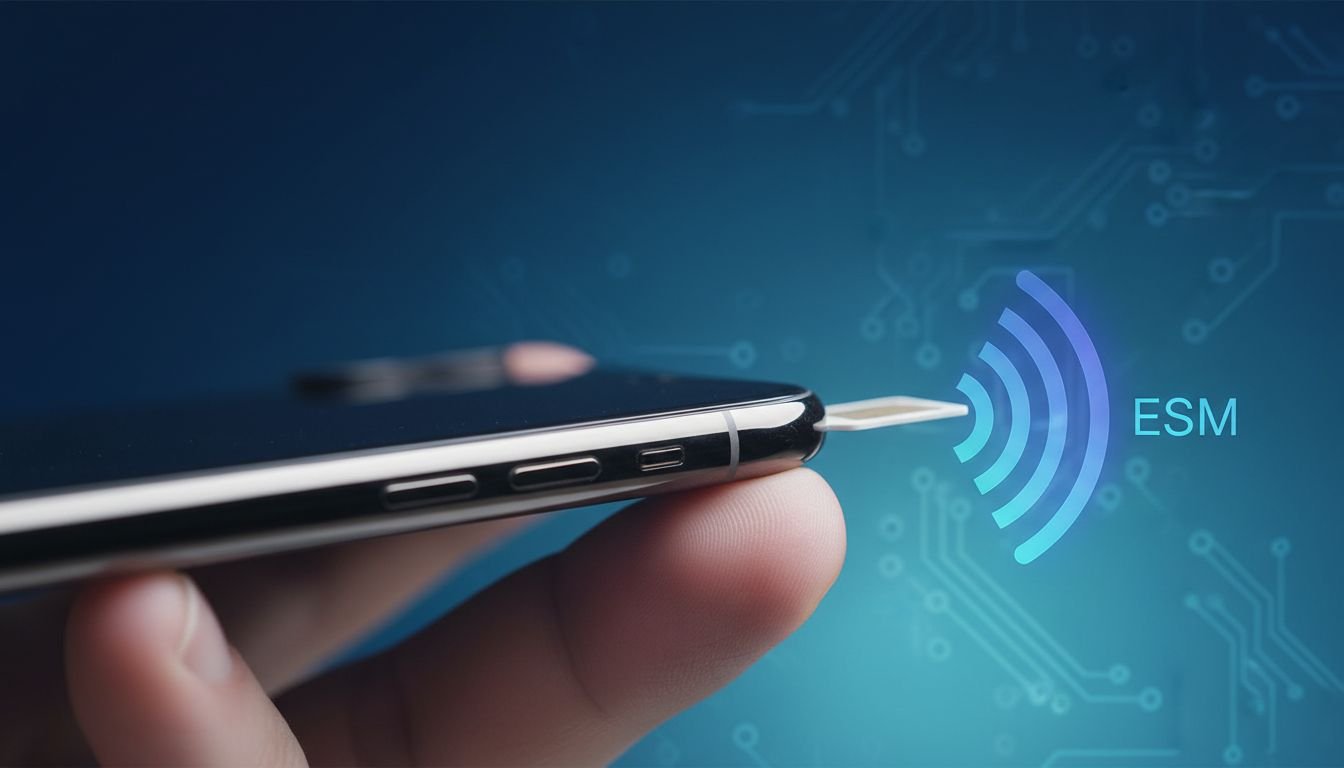
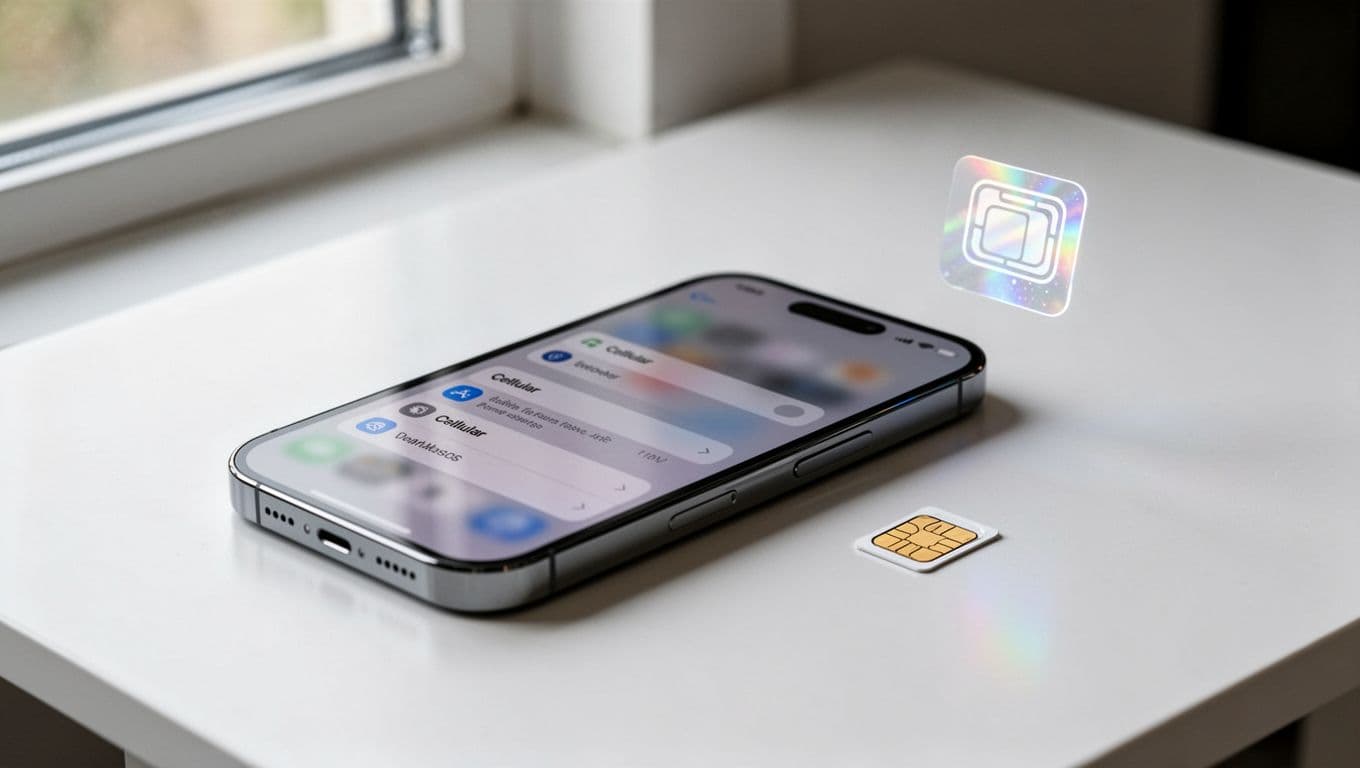
Got a new iPhone with no SIM tray, or tired of a tiny SIM card that keeps slipping out? Maybe you travel between Pakistan, the UAE, and Saudi Arabia, and you want dual SIM without carrying a pin tool. Whatever the reason, converting a physical SIM to eSIM on iPhone is usually quick, as long as your carrier supports it.
This guide is for iPhone XS and newer users in 2026 (including the latest models), and it follows the same menu path you’ll see on recent iOS versions (iOS 19 and up still keeps the process familiar). You’ll get simple, step-by-step instructions, plus fast fixes if “Convert to eSIM” doesn’t show up.
Before you convert, make sure your iPhone and carrier are ready
Most iPhones from iPhone XS and newer support eSIM. That part is easy. The bigger question is your carrier, because not every carrier supports the built-in “Convert” button.
In Pakistan, the major networks commonly offer eSIM options (Jazz, Zong, Telenor, and Ufone). Still, the conversion method can differ. Some carriers let you convert right inside Settings, while others require a QR code, an app, or a visit to a franchise center for ID verification. In the UAE and Saudi Arabia, many users also run into in-store verification rules, especially when the account needs an ID match.
Also remember what you’re really doing: you’re moving your phone number from a plastic card to a downloaded carrier profile. That profile must be issued and approved by your carrier. If the carrier’s system is slow, you might wait minutes, not seconds.
Biggest rule: don’t remove the physical SIM until the eSIM is fully active and tested.
A quick side note for buyers in Pakistan: carrier lock issues can complicate any SIM change. If you’re unsure about your device status, read the disadvantages of JV iPhones in Pakistan before you start.
Quick checklist to avoid getting stuck mid-switch
- iPhone XS or newer (including iPhone 16 series in 2026)
- iOS updated (iOS 19+ uses the same Settings flow)
- Strong Wi-Fi (eSIM profiles download over the internet)
- Apple ID access (know your password, have 2FA available)
- Carrier account login (if your carrier app needs it)
- Your phone number and account PIN (if your carrier uses one)
- Device unlocked for your carrier setup (important when traveling)
- Backup done (iCloud or computer)
- Keep the physical SIM inserted until everything works
Know your carrier setup type, built-in conversion, QR code, app, or manual details
There are four common activation paths:
- Convert to eSIM in Settings: Fastest when your carrier supports direct conversion.
- QR code scan: Your carrier issues a QR code that installs the eSIM plan.
- Carrier app flow: Some networks push the eSIM profile through their app.
- Manual entry: You enter details like SM-DP+ address and activation code.
If your carrier doesn’t support direct conversion, you’ll usually request a new eSIM re-issue. Fees depend on the carrier. Many do it free, while some charge a small service fee (often around $5 to $10).
How to convert your physical SIM to eSIM on the same iPhone (step by step)
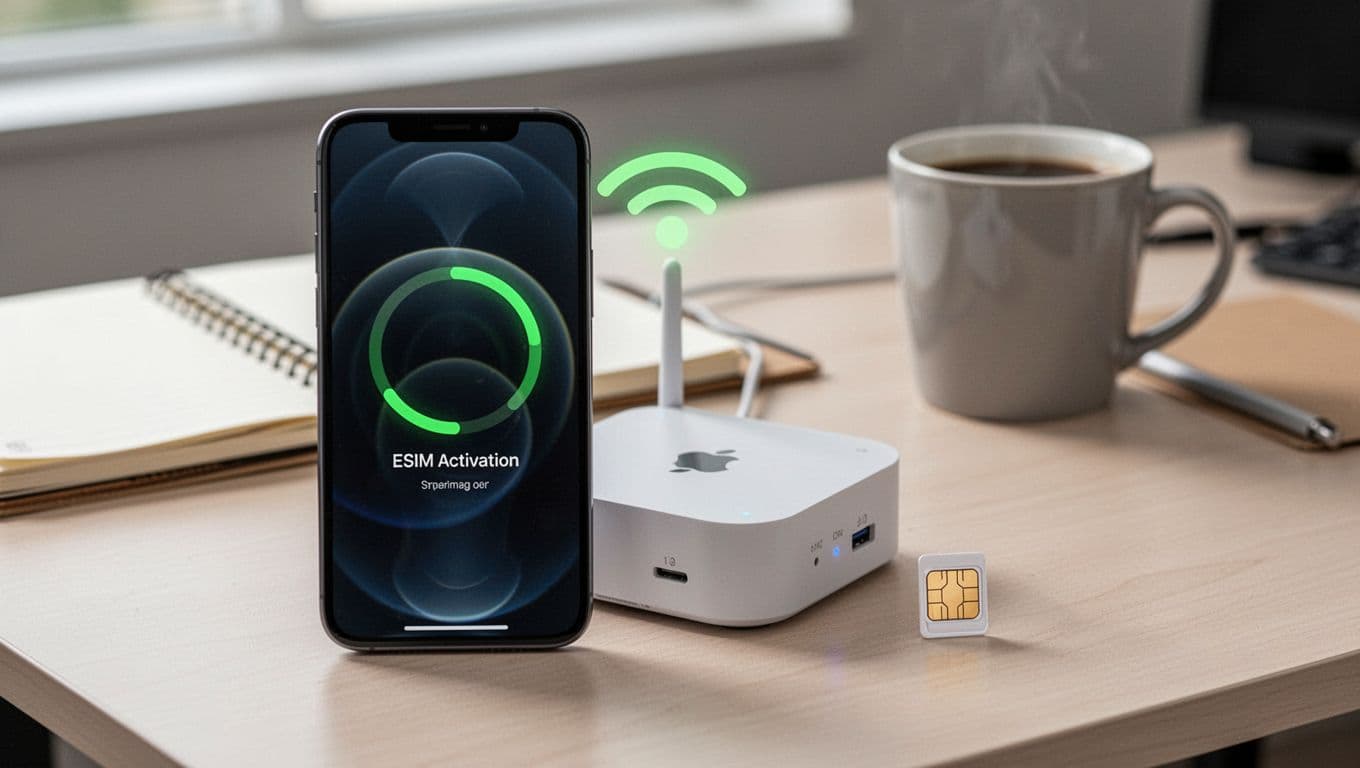
Plan for a calm 10 minutes. The actual conversion often finishes in 1 to 3 minutes, but some carriers take longer. In rare cases, activation can take up to 2 hours if carrier systems queue the request.
Before you begin, connect to Wi-Fi and keep your phone charged. If you’re worried about battery dropping mid-setup, it helps to use a reliable charger (see this guide on how to choose the perfect charger for your smartphone so you don’t end up with unstable charging during activation).
Convert to eSIM from Settings (the easiest method when it appears)
- Back up your iPhone, then connect to strong Wi-Fi.
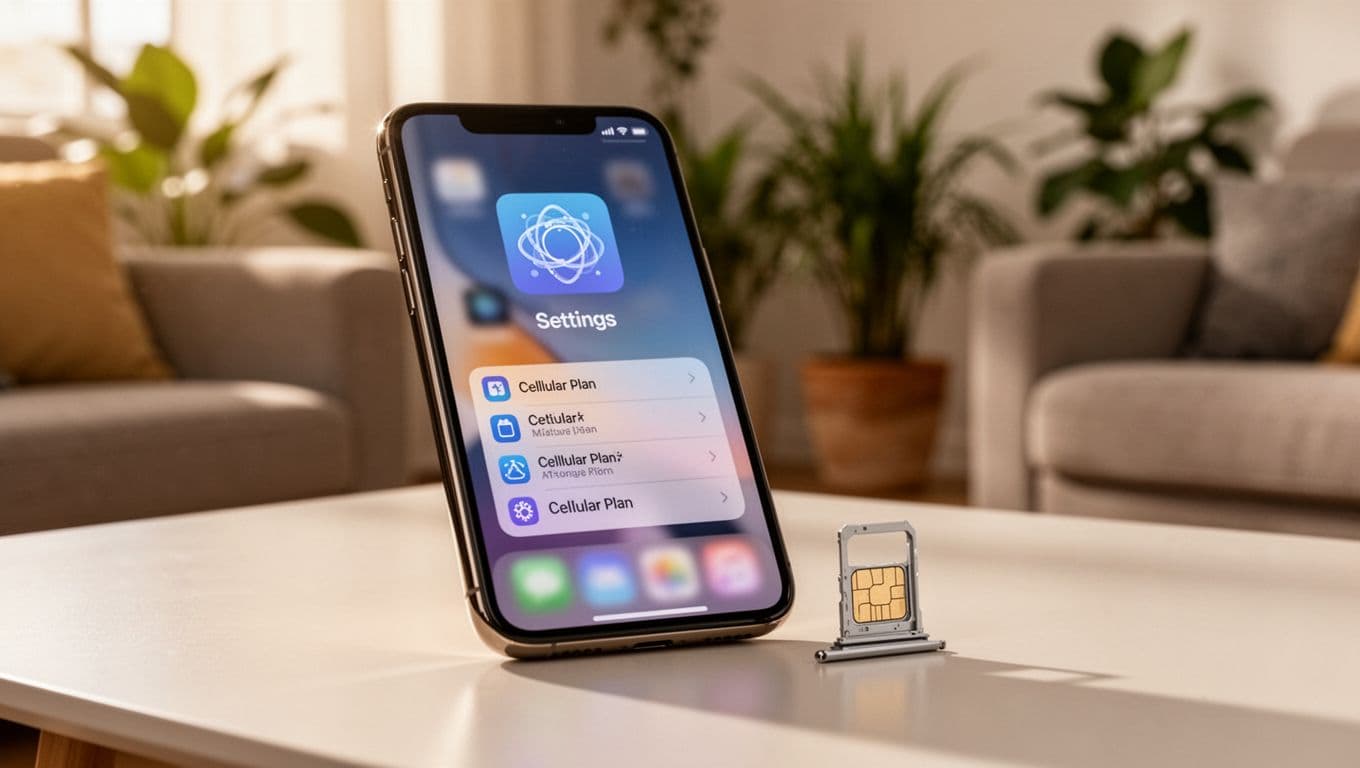
- Open Settings.
- Tap Cellular (or Mobile Data).
- Tap Convert to eSIM.
- Tap Convert Cellular Plan.
- Tap Convert to eSIM again to confirm.
- Wait while your iPhone activates the plan (keep Wi-Fi on).
- Test a call, SMS, and mobile data.
- Remove the physical SIM only after everything works, then restart your iPhone.
If activation seems slow, keep the iPhone on Wi-Fi and plug it in. Also avoid switching apps too much. Think of it like changing a lock on your front door. It’s quick, but you don’t want interruptions halfway.
If your carrier uses a QR code or app instead of the Convert button
If you don’t see “Convert to eSIM,” you can still activate eSIM with carrier-issued details.
QR code method
- Open Settings.
- Tap Cellular (or Mobile Data).
- Tap Add eSIM.
- Choose Use QR Code.
- Scan the QR code from your carrier (paper, email, or app).
- Follow the prompts to finish activation, then test service.
If scanning fails, tap Enter Details Manually and use the info from your carrier.
Carrier app method Open your carrier’s app and follow the eSIM setup prompts. After it finishes, return to Settings > Cellular/Mobile Data and confirm the plan shows as active.
What you’ll need from your carrier (varies by provider):
- QR code (most common)
- Activation code
- SM-DP+ address (for manual setups)
- Confirmation PIN (some accounts require it)
Common problems after switching, and how to fix them fast
Most eSIM issues feel scary because service drops suddenly. The good news is that most fixes are simple, and many problems resolve after a restart or a short wait.
A helpful mindset: treat eSIM activation like a train schedule. Sometimes you arrive early and wait on the platform. Other times, the train comes right away. Knowing when to wait, and when to call support, saves a lot of stress.
“Convert to eSIM” is missing, activation failed, or you see “No Service”
Problem: “Convert to eSIM” is missing
- Likely cause: your carrier doesn’t support direct conversion in Settings.
- Fix: ask your carrier for a QR code or eSIM re-issue. Confirm your plan supports eSIM.
Problem: Activation failed
- Turn Wi-Fi off and on, then try again.
- Restart your iPhone.
- Update iOS if an update is available.
- If your physical SIM still works, keep it inserted and retry after 10 to 15 minutes.
Problem: “No Service” after activation
- Toggle Airplane Mode on for 10 seconds, then off.
- Restart again (yes, it matters).
- Check Settings > Cellular/Mobile Data and confirm your eSIM line is enabled.
- If you removed the physical SIM too early, reinsert it while you contact your carrier.
As a last resort, reset networking:
- Settings > General > Transfer or Reset iPhone > Reset > Reset Network Settings
If you’re in Pakistan, UAE, or Saudi Arabia, some carriers require in-store verification before they fully activate eSIM on an account. If you’ve tried the steps above and it still fails, that’s your signal to call support or visit a store.
Calls and data work, but iMessage or FaceTime won’t activate
This happens often right after a SIM change. Usually it clears within minutes.
Try this in order:
- Go to Settings > Messages > Send & Receive, then select your phone number.
- Go to Settings > FaceTime, then confirm the correct number is checked.
- Toggle iMessage off, wait 10 seconds, then turn it on.
- Set time correctly: Settings > General > Date & Time > Set Automatically
- Send one regular SMS (some carriers need an outgoing SMS to register your number)
- Restart your iPhone once more
If your number shows “waiting for activation,” give it 10 to 30 minutes on Wi-Fi before you change more settings.
FAQ: Physical SIM to eSIM conversion on iPhone (2026)
Can I convert physical SIM to eSIM on any iPhone?
No. You generally need an iPhone XS or newer. Older iPhones don’t support eSIM.
Will I lose my phone number when I convert to eSIM?
You shouldn’t. The number moves to an eSIM profile. Still, always test calls and SMS before removing the physical SIM.
How long does eSIM activation take on iPhone?
Often 1 to 3 minutes. Sometimes it takes longer, even up to 2 hours, if carrier systems are busy.
Why don’t I see “Convert to eSIM” in Settings?
Usually your carrier doesn’t support built-in conversion. Ask for a QR code or use the carrier app.
Can I use dual SIM after switching to eSIM?
Yes. Many people keep one line as eSIM and add another line (eSIM or physical SIM, depending on the model). Label lines like Personal and Work.
Is there a fee to convert SIM to eSIM?
It depends on the carrier. Some do it free, others charge a small fee (commonly around $5 to $10).
Conclusion
Converting a physical SIM to eSIM on iPhone is simple when two things line up: your iPhone model (XS and newer) and your carrier support. If you see Convert to eSIM in Settings, you can finish the switch in minutes. If that button is missing, use a QR code, a carrier app, or manual details from support. Most importantly, test calls, SMS, and data before you remove the physical SIM.
After everything works, take one practical step that saves future headaches: label your eSIM line (Personal, Work, Travel) and store your carrier’s QR or activation details somewhere secure. Next time you change phones, you’ll thank yourself.