Connect with us

How-To Guides

How to make an Easypaisa account in 2024

Published

on

How to make easypaisa account in 2024

Introduction to Easypaisa: Pakistan’s Leading Mobile Payment Solution

Easypaisa, an innovative online payment app owned by Telenor, has revolutionized the way Pakistan handles financial transactions. Initially introduced as a method for anyone to send money anytime, Easypaisa quickly became the country’s most popular app. Its success journey includes expanding services to offer easy gateways for bill payments and fees, significantly boosting its popularity.

An Easypaisa mobile account is an easy-to-use mobile wallet available to users across all networks. Accessible at any time from your mobile phone, the account requires no documentation—simply sign up with your CNIC and phone number. With your Easypaisa account, you can make all kinds of payments effortlessly.

Why Easypaisa Stands Out

Easypaisa’s comprehensive services include:

  • Secure Money Transfers: Send and receive money instantly.
  • Bill Payments: Pay utility bills, educational fees, and more.
  • Mobile Top-ups: Recharge your mobile credit conveniently.

Whether you are making a quick payment or managing your finances, Easypaisa provides a secure, user-friendly solution that has transformed the digital payment landscape in Pakistan. Hence it is becoming a Super App of Pakistan.

How to make Easypaisa Account 2024:

how to make easypaisa account in 2024

To create Easypaisa account you will first have to download the Easypaisa app.

The Download links of this app are given below.

Download Easypaisa on iPhone.
download Easypaisa on android.
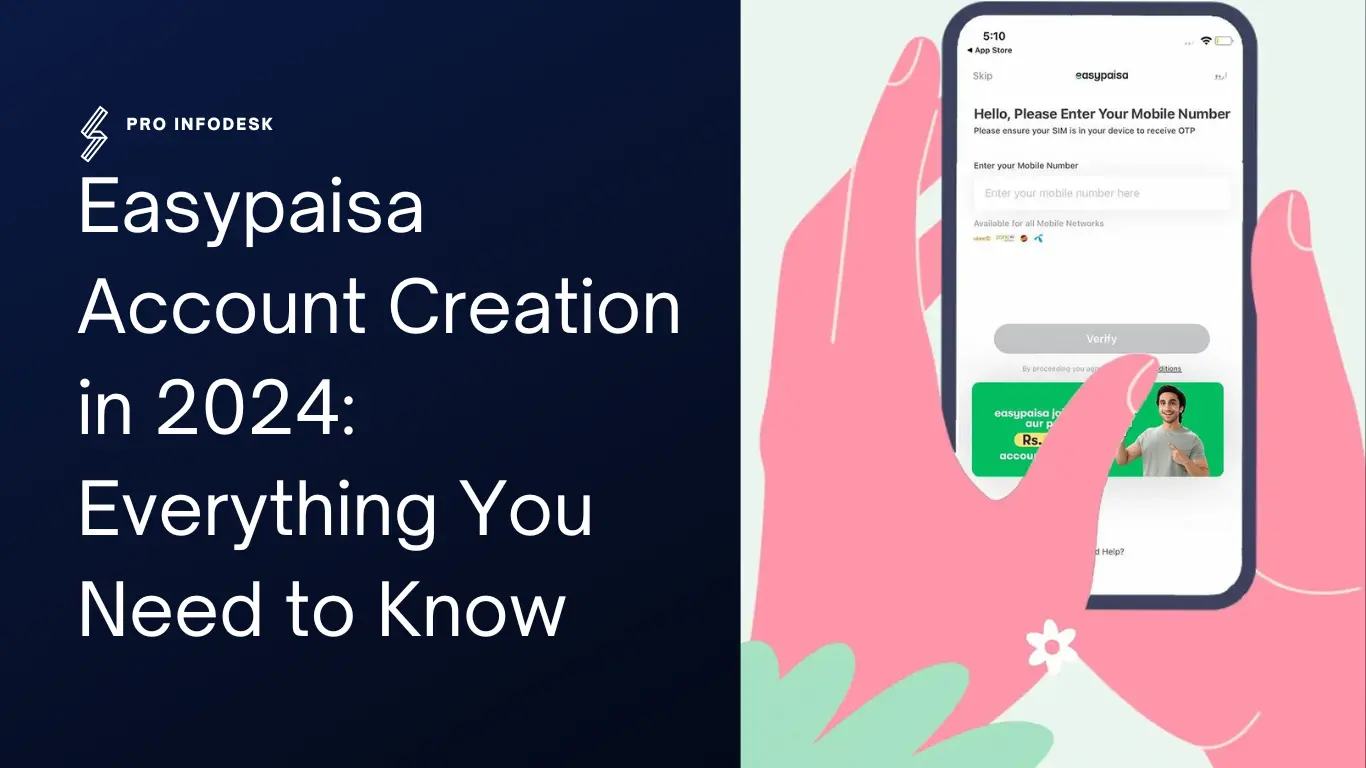
The second step is that you have to open easypaisa app and provide your name, DOB and CNIC number. It is important to keep in mind that the mobile number you are using must be registered on your CNIC only, otherwise your account may not be created.
After verifying your details, Easypaisa will activate a level one account for you very soon. With a level one account, you can do easy daily tasks, I mean load or bill payment etc.

Easypaisa account requirements 2024:

There are only two requirements for Easypaisa account. You can create an account on easy paisa just by using your CNC and the mobile number registered on it. And there is no fee for this registration, it is completely free of cost.

Levels in Easypaisa account and their requirements:

The first account which is created on your Easypaisa after verification of your CNC and mobile is an unverified level account. Only NADRA verification is required for this. But until you upgrade it, it is impossible to send or receive money.

Level 0 account:

By upgrading a non-verified account in one step, you will get the status of a level 0 account. You can upgrade your account to level 0 by simply completing one security question.

Level 1 account:

You can convert your account to level 1 by doing one step biometric verification from a level 0 account. In level one easypaisa account, you get enhanced transactions limit.

Easypaisa Asaan digital account:

If you want enhanced transaction limits and control, you can upgrade your account from level 1 to asaan digital account after getting KYC done. In this, you get monthly balance limits up to Rs 1 million as well as yearly enhanced limits.

Transaction limits of easypaisa accounts:

The balance limit for level 0 is Rs 200,000 i.e. you cannot deposit more than this amount in it. While its daily sending and receiving limit is 25000, you can neither send nor receive more than Rs. 50,000 per month. The yearly limit of easypaisa’s level 0 account is Rs 200,000.

If we look at the level 1 account, its daily balance limit is unlimited, and the daily receiving and sending limit is 50,000 while the monthly sending and receiving limit is 200,000. The yearly limit of level 1 account is Rs 24 lakh.

Easypaisa’s Asaan digital account is a very good option. Its balance limit is Rs 1,000,000. Its daily sending and receiving limit is 1 million while the yearly limit is up to 10.2 million. This simple digital account of Easyapisa is the best payment solution for online business.

Click to comment

Leave a Reply

Your email address will not be published. Required fields are marked *

How-To Guides

How to Get Your Family Registration Certificate NADRA in 2024

Need a Family Registration Certificate NADRA in 2024? Our comprehensive guide walks you through the process step-by-step, offering tips and updates to help you get it easily and quickly.

Published

on

frc nadra

Obtaining a Family Registration Certificate (FRC) from NADRA (National Database and Registration Authority) is a crucial process for families in Pakistan. Whether you need it for visa applications, educational purposes, or other official needs, understanding the steps and requirements in 2024 is essential. In this comprehensive guide, we’ll walk you through everything you need to know about getting your Family Registration Certificate NADRA, from the application process to the necessary documents and tips for a smooth experience.

What is a Family Registration Certificate NADRA?

A Family Registration Certificate (FRC) is an official document issued by NADRA that lists the family members registered under one family tree. It serves as proof of your family composition and is often required for various administrative purposes, including immigration, visa applications, and school admissions.

Why is the FRC NADRA Important?

The Family Registration Certificate NADRA is important because it provides a verified record of your family structure. It is often required for:

  • Visa Applications: Many countries require an FRC for family visas.
  • Educational Institutions: Schools and universities may ask for an FRC during admissions.
  • Legal Proceedings: An FRC can be used as legal evidence of family relationships.
  • Property Transactions: It may be needed to verify family ties in property disputes.

How to Apply for a Family Registration Certificate NADRA in 2024

Getting a Family Registration Certificate NADRA in 2024 involves a few steps, whether you’re applying online or in person.

1. Online Application Process

The online process is convenient and straightforward. Here’s how you can apply:

Step 1: Visit the NADRA Official Website

Go to the NADRA official website and navigate to the section for Family Registration Certificates.

Step 2: Create an Account or Log In

If you don’t already have an account, you’ll need to create one using your CNIC (Computerized National Identity Card) number and a valid email address. If you have an account, simply log in.

Step 3: Fill Out the Application Form

Fill in the required details accurately. You’ll need to provide information about each family member, including CNIC numbers, dates of birth, and other relevant details.

Step 4: Upload Required Documents

Upload scanned copies of the necessary documents, including your CNIC and any other required certificates.

Step 5: Pay the Fee

The fee for the Family Registration Certificate NADRA can be paid online through various payment methods, including credit/debit cards and mobile wallets. As of 2024, the standard fee is PKR 1000 Only.

Step 6: Submit the Application

After reviewing your application for accuracy, submit it online. You’ll receive a confirmation email with a tracking number to monitor the status of your application.

Step 7: Receive Your Family Registration Certificate

Once your application is processed and approved, you’ll receive the Family Registration Certificate NADRA via courier. You can also download a digital copy from your NADRA account.

2. In-Person Application Process

If you prefer to apply in person, follow these steps:

Step 1: Visit the Nearest NADRA Office

Go to your nearest NADRA office. Make sure to bring all required documents, including original CNICs of all family members.

Step 2: Fill Out the Application Form

At the office, you’ll be provided with an application form. Fill it out with accurate information about your family.

Step 3: Submit the Form and Documents

Submit the completed form along with the required documents to the NADRA officer. Ensure that all details are correct to avoid any delays.

Step 4: Pay the Fee

Pay the applicable fee at the counter. You’ll receive a receipt that includes your application tracking number.

Step 5: Wait for Processing

The processing time for in-person applications is usually a few days to a week. You can track your application status using the tracking number provided.

Step 6: Collect Your Family Registration Certificate

Once your application is approved, you’ll be notified to collect your Family Registration Certificate NADRA from the office.

Documents Required for Family Registration Certificate NADRA

To apply for the Family Registration Certificate NADRA, you’ll need the following documents:

  • CNIC of the Applicant: The applicant must provide their original CNIC.
  • CNICs of All Family Members: Copies of CNICs for all family members included in the certificate.
  • Proof of Relationship: Birth certificates, marriage certificates, or any other documents proving relationships between family members.
  • Fee Payment Receipt: Proof of payment for the application fee.

Tips for a Smooth Application Process

  • Ensure Accuracy: Double-check all information on the application form to avoid delays.
  • Prepare Documents in Advance: Gather all necessary documents before starting the application process.
  • Track Your Application: Use the tracking number provided to monitor the status of your application.

Common Issues and How to Resolve Them

Sometimes, applicants face issues during the application process. Here are some common problems and their solutions:

  • Incorrect Information: If you’ve submitted incorrect information, contact NADRA immediately to rectify the mistake.
  • Delayed Processing: If your application is taking longer than expected, use your tracking number to check the status or visit the NADRA office.
  • Missing Documents: If any required documents are missing, your application will be delayed. Make sure to include all necessary paperwork.

Conclusion

Obtaining a Family Registration Certificate NADRA in 2024 is a straightforward process if you follow the correct steps. Whether you choose to apply online or in person, this guide provides all the information you need to ensure a smooth and successful application.

Frequently Asked Questions (FAQs) about Family Registration Certificate NADRA in 2024

To help you better understand the process and answer common concerns, we’ve compiled a list of frequently asked questions related to obtaining a Family Registration Certificate NADRA in 2024.

To apply for a Family Registration Certificate (FRC) NADRA, you will need the following documents:

  • Applicant’s CNIC: The original CNIC of the person applying for the FRC.
  • CNICs of All Family Members: Photocopies of CNICs for all family members listed on the certificate.
  • Proof of Relationship: Documents such as birth certificates, marriage certificates, or any other official records that verify relationships between family members.
  • Fee Payment Receipt: A receipt showing that the application fee has been paid.

As of 2024, the fee for obtaining a Family Registration Certificate from NADRA is PKR 1000 only. The fee may vary depending on whether you are applying online or in person, as well as any additional services you might opt for (like urgent processing). It is recommended to check the NADRA website or contact your nearest NADRA office for the most up-to-date information.

You can check your NADRA family record online by following these steps:

  1. Visit the NADRA official website.
  2. Log in to your NADRA account using your CNIC number and password.
  3. Navigate to the section for family records or Family Registration Certificate (FRC).
  4. Enter the required details to view your family record online.

If you encounter any issues, you may need to visit a NADRA office or contact their support services for assistance.

To check your family tree in NADRA, follow these steps:

  1. Log in to your NADRA account on the official NADRA website.
  2. Go to the section where family information is listed, usually under “Family Registration Certificate” or a similar heading.
  3. Your family tree will be displayed, showing the relationships between all registered family members.
Continue Reading

How-To Guides

Use Whatsapp without internet in this new update 2024

Published

on

whatsapp without internet

WhatsApp keeps on adding some good features in its new updates for the convenience of the users. Recently WhatsApp also introduced some amazing new features.

But the feature that WhatsApp has introduced this year is very amazing. Yes, now you can use WhatsApp without internet connection. This feature is a new initiative and it is obvious that customers will benefit a lot from it.

How to use WhatsApp without internet:

To use WhatsApp without internet, simply go to settings. There go to storage and data option and click on Proxy. Go there, select a proxy address, save and then connect. After doing this, you will be informed through a check mark that the connection is working. After which you will be able to send and receive WhatsApp messages even without internet connection.
More than 2 billion people around the world use WhatsApp, but most of the people think that we cannot use this app without internet.


But do you know that you can now use WhatsApp without internet? This feature of WhatsApp has been named proxy support. The purpose of this feature is to make access to Whatsapp at every place where the app is blocked or the internet service is affected due to some reason.
The good thing is that even in this mode the WhatsApp messages are end-to-end encrypted and no one else can read them.

If despite this option you are not able to send WhatsApp messages without using the internet then it means that the proxy is blocked, in this case you will have to use some other proxy address.

Continue Reading

Trending

Contact us at: team@proinfodesk.com| Copyright © 2023 Proinfodesk.com, All rights reserved.